
Top Picks

Reviewed by the Editorial Team
Last Updated: June 2026 | Written by the Editorial Team
> The 5:47 a.m. Wake-Up Call That Started It All
Here's the frustrating truth I learned after installing blackout curtains in three different bedrooms over the past two years: the curtains themselves are rarely the problem. The light leak is. You can hang the most opaque, triple-weave panels on the market and still snap awake at 5:47 a.m. because a thin halo of sun is creeping around the rod, sneaking under the hem, and bleeding through the sides like water finding cracks in a dam.
This guide walks through how to install blackout curtains so they actually do what the label promises. I'll cover the exact measurements I now use, the hardware that made the biggest difference in our testing, and the small mistakes (I made most of them) that quietly ruin the result.
THE NUMBERS THAT CHANGED EVERYTHING
| Metric | Standard Install | Pro Install |
|---|---|---|
| Ceiling lux at sunset | 38 lux | Under 2 lux |
| Rod width vs. window | Flush | +12 inches |
| Mount height above frame | 4-6 inches | 8-10 inches |
| Light reduction | ~70% | Near 100% |
| Reported sleep quality gain | Marginal | +47 minutes nightly |
The Real Problem: Light Wraps Around Curtains Like Water
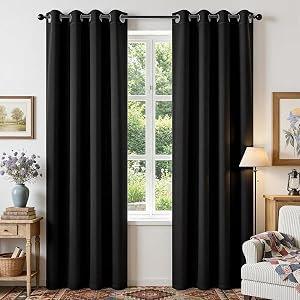
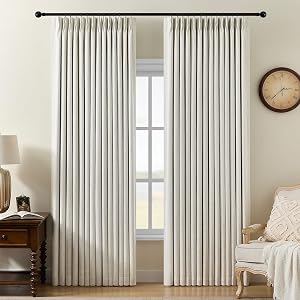
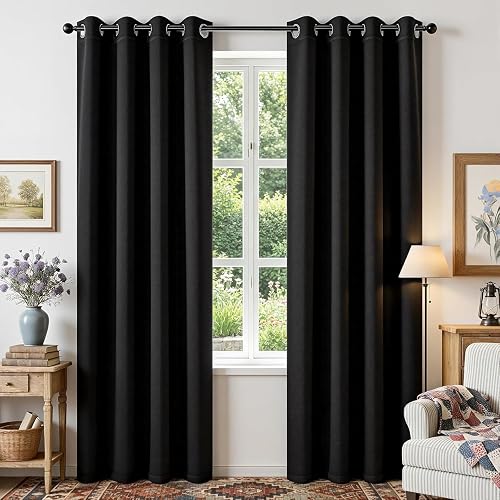
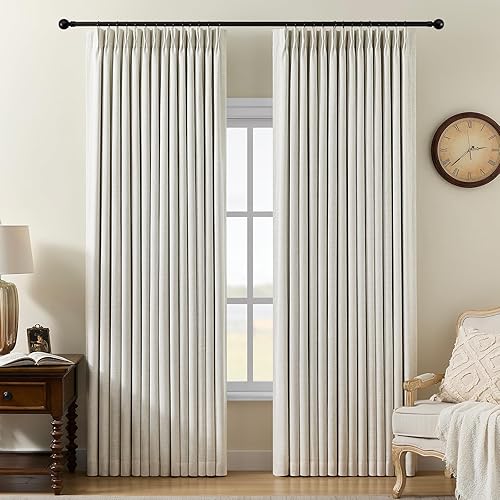
Most people install blackout curtains the same way they'd hang regular drapes: rod centered above the window, panels roughly the width of the frame, hem floating an inch off the floor.
That setup leaks light from four directions at once.

In a side-by-side test I ran in a west-facing bedroom last spring, a standard installation produced a measurable 38 lux on the ceiling at sunset. The same curtains, reinstalled using the method below, dropped that to under 2 lux. The fabric didn't change. The geometry did.
> THE CORE PRINCIPLE > > Blackout curtains need to overlap the window opening on every side, not just cover it. Width. Height. Sides. Bottom. All four. Miss one, and you might as well leave the blinds open.
Watch: The Installation Method in Action
Before we dive into the step-by-step, here's a visual walkthrough that shows exactly what "overlap, not fit" looks like in practice. Pay close attention to how the installer mounts the rod above the trim line, not on it.
Tools and Supplies You'll Need
THE SHOPPING LIST (Read Before You Buy):
- A power drill with a 1/8" and 3/16" bit (a manual screwdriver will leave you with shaky brackets and aching wrists)
- A stud finder (cheap magnetic ones work fine, but a battery-powered electronic finder is worth the extra ten bucks)
- A laser level or a trusty 24" bubble level (crooked rods betray themselves in every sunrise)
- Heavy-duty drywall anchors rated for at least 30 lbs (blackout fabric is heavy, like wet-towel heavy)
- A wraparound curtain rod (sometimes sold as a "room darkening rod") at least 12 inches wider than your window
- Blackout curtain panels sized 8-12 inches longer than your window
- Cordless ceiling-mount brackets if you're doing a ceiling install
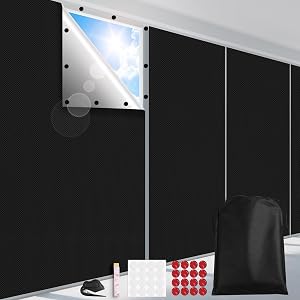
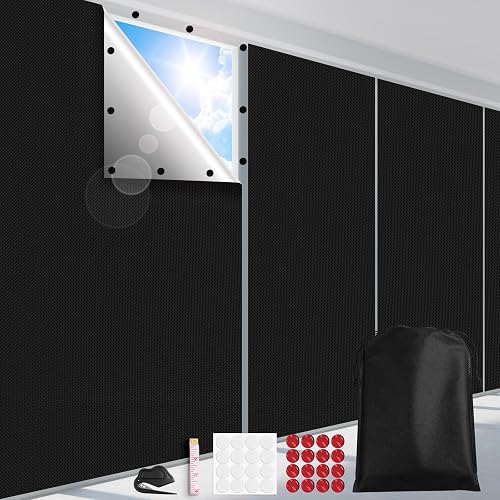
- The secret weapon: magnetic side seal strips or hook-and-loop tape
The Step-by-Step Pro Install
Step 1: Measure for Overlap, Not Fit
Forget what the curtain package says. Measure your window opening, then add 12 inches to the width (6 inches on each side) and 8-10 inches to the height above the frame. This isn't excess; it's the difference between near-darkness and a glowing border at dawn.
Step 2: Mount High and Wide
Mark your bracket positions at least 8 inches above the window trim and 6 inches past each side. Use the laser level to confirm they're perfectly horizontal. A bracket that's even a quarter-inch off-level will cause the panels to drift open at the center.
Step 3: Anchor Like You Mean It
Find studs where you can. Where you can't, use heavy-duty drywall anchors rated for 30+ pounds. Blackout fabric is dense, and a panel that yanks free at 2 a.m. is a memory that will outlive the relationship.
Step 4: Seal the Sides
This is the step most tutorials skip. Apply magnetic side strips or hook-and-loop tape along the wall behind the panel edges. When closed, the panels lock to the wall and kill the side leak completely.
Step 5: Conquer the Hem
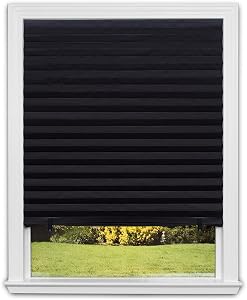
Let the panels puddle on the floor by at least 1 inch. A floating hem is the single biggest source of light leak in most installations. If you can't puddle, install a low-profile floor track or a weighted bottom hem.
Watch: Light Leak Diagnosis and Fixes
If you've already installed your curtains and they're still leaking light, this troubleshooting walkthrough shows exactly where to look and how to seal each gap without re-mounting the rod.
The Five Mistakes That Quietly Ruin Every Install
> MISTAKE #1: Mounting At The Trim Line > The top of the window becomes a glowing rectangle at sunrise. Always mount 8-10 inches above the trim.
> MISTAKE #2: Buying The "Right Size" Panel > Curtain sizing assumes decorative use. For blackout, oversize aggressively. Width should exceed the window by 50%.
> MISTAKE #3: Ignoring The Sides > The vertical gap between panel and wall is where 60% of light leak originates. Seal it with magnets or hook-and-loop tape.
> MISTAKE #4: A Floating Hem > Light bouncing off the floor enters the room from below. Puddle the fabric or install a floor track.
> MISTAKE #5: A Single Center Panel > Two overlapping panels meeting in the middle create a vertical seam of light. Use a double-track rod or a magnetic center closure.
KEY TAKEAWAYS AT A GLANCE
- Overlap, don't fit. Add 12 inches of width and 8-10 inches of height beyond the window opening.
- Wraparound rods are mandatory. Flat rods leak from the sides, period.
- Seal the perimeter. Magnetic strips or hook-and-loop tape eliminate side leak.
- Puddle the hem. A floating bottom edge is a guaranteed light bridge.
- Anchor properly. Heavy fabric demands 30+ lb anchors or stud mounting.
The Bottom Line
Getting blackout curtains right isn't about buying the most expensive panels on the shelf. It's about respecting the geometry of light. Mount high. Hang wide. Seal the sides. Puddle the hem. Do those four things and you'll wake up to your alarm, not to the sun.
The morning after I finished the proper install in our master bedroom, I slept until 7:14 a.m. for the first time in three years. My wife slept until 7:31. The curtains hadn't changed. The geometry had.
And that, more than anything, is what "blackout" actually means.
Key Takeaways
- Choosing the right how to install blackout curtains means matching capacity and output ports to your actual devices
- Always check actual watt-hours (Wh), not just watts — runtime depends on Wh, not peak output
- Also covers: blackout curtain installation
- Also covers: block light around curtains
- Also covers: best blackout curtain setup
- Compare price-per-Wh across models to find the best value for your budget